

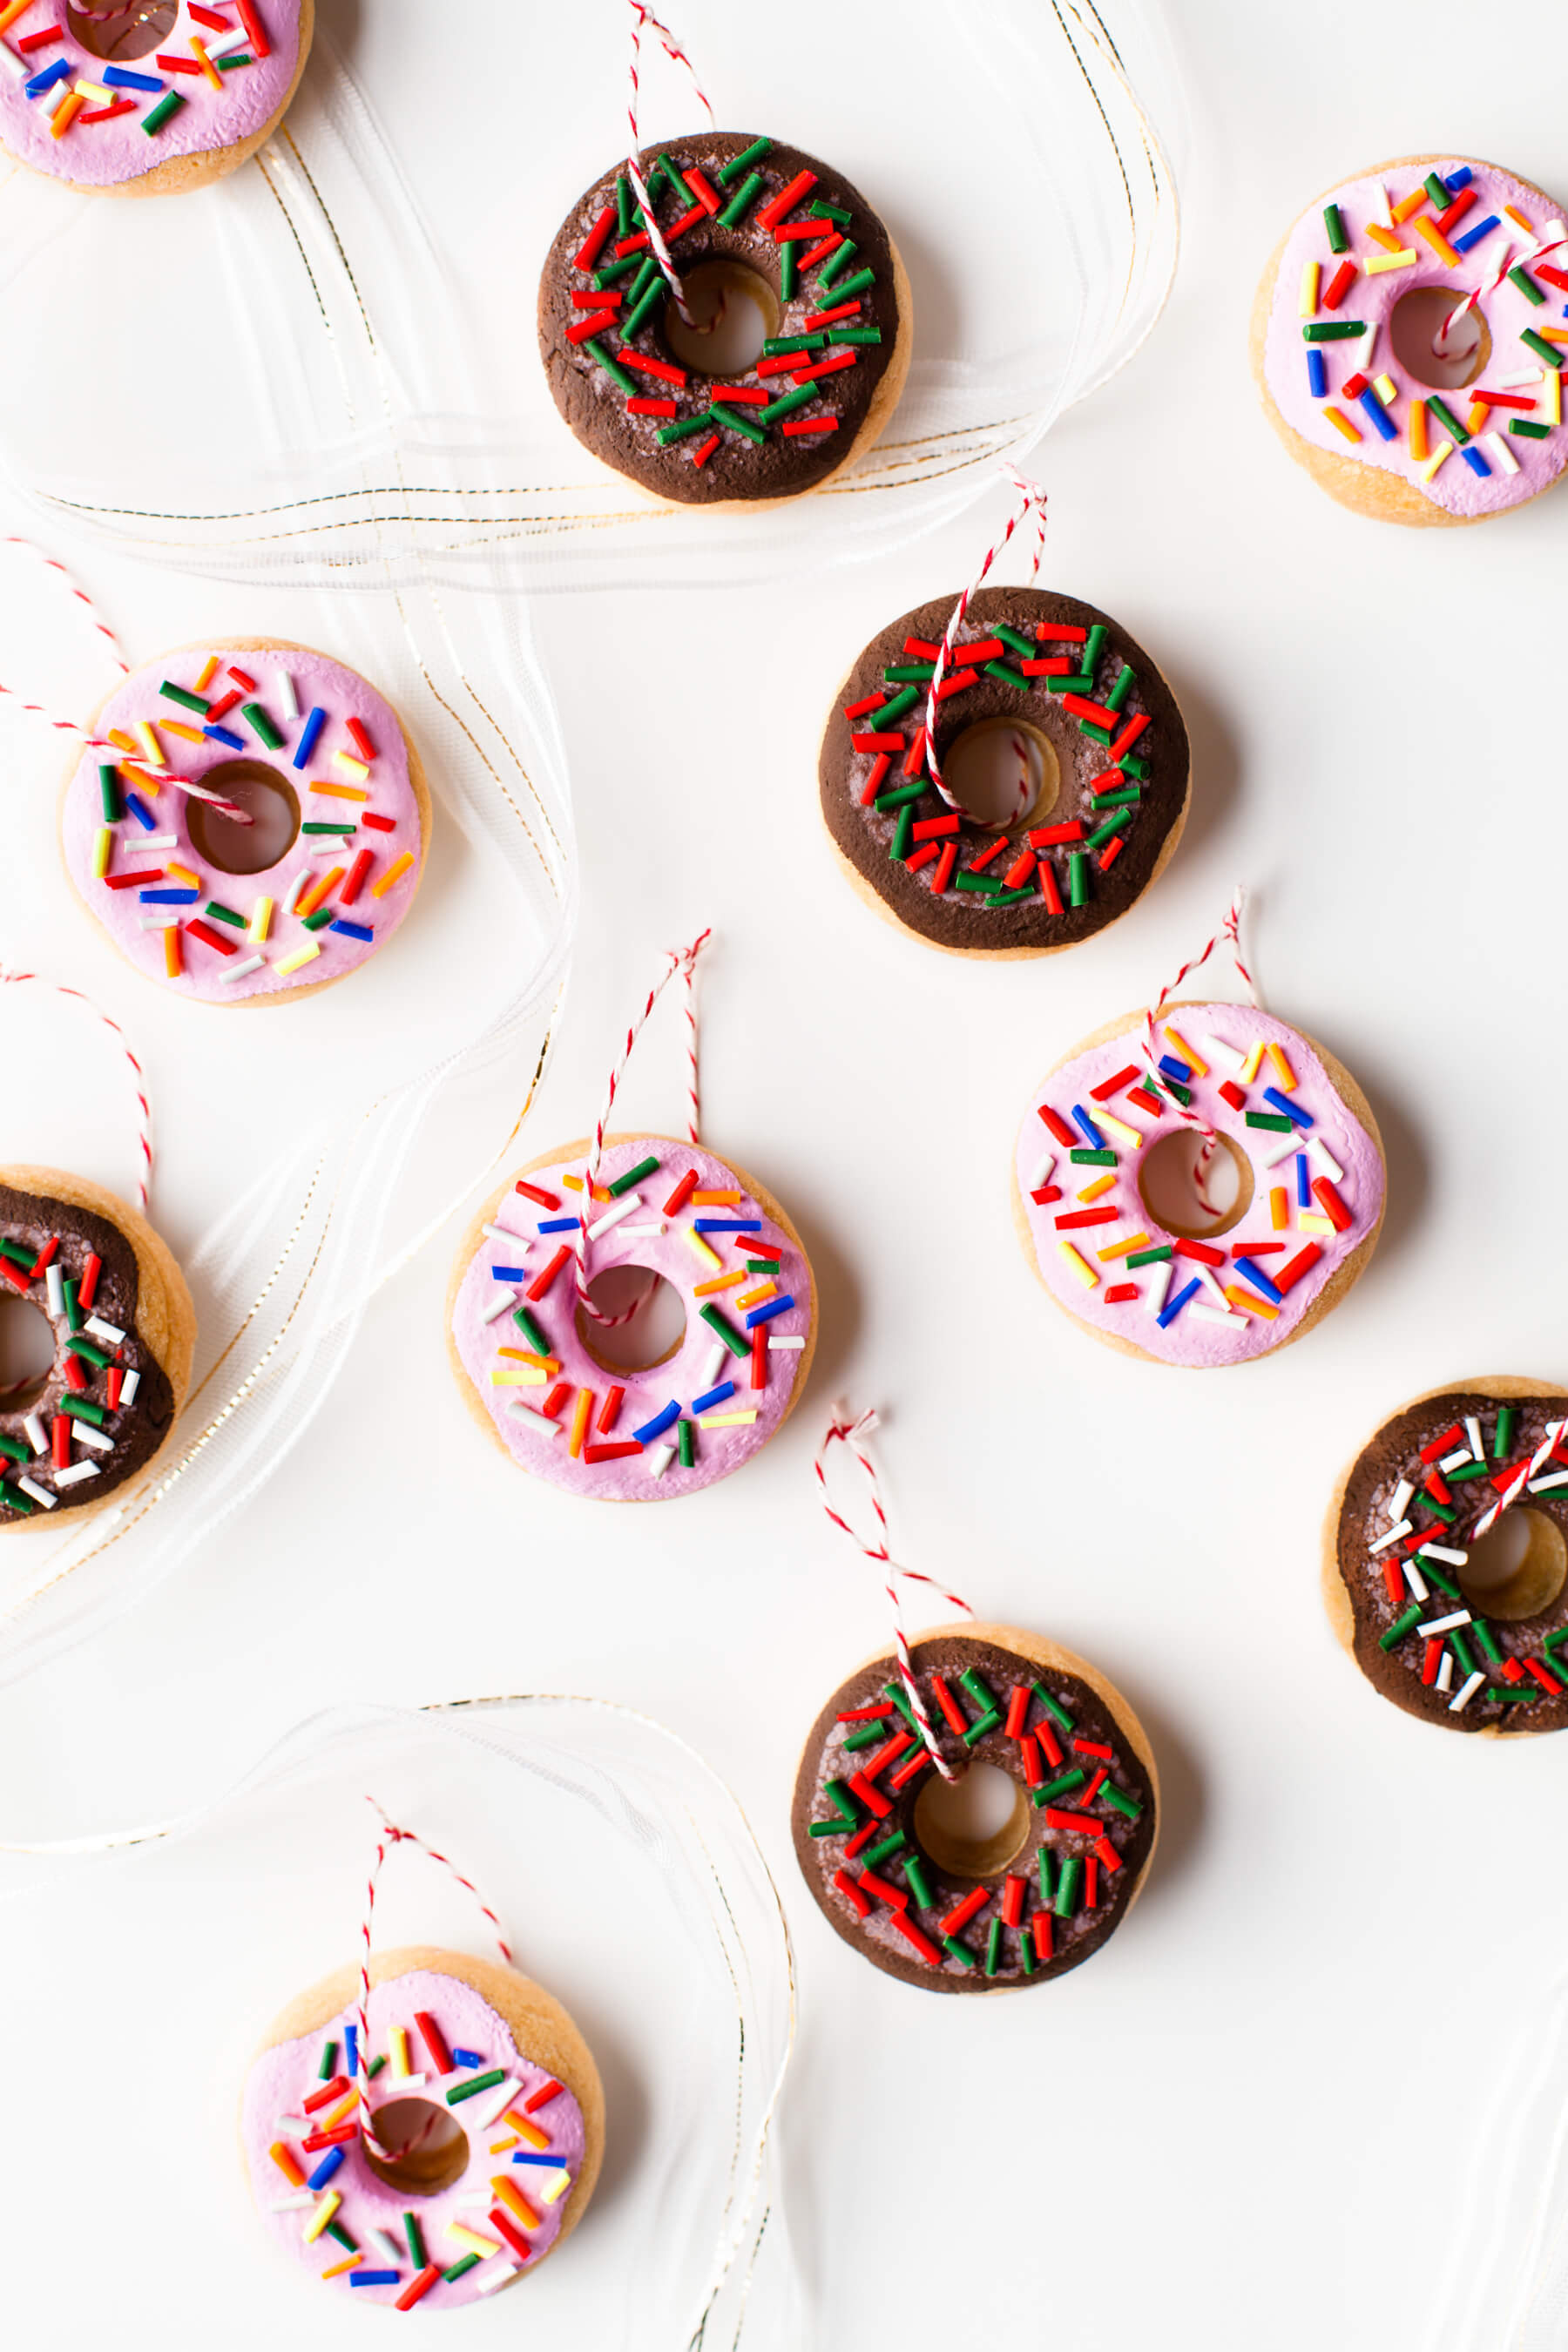
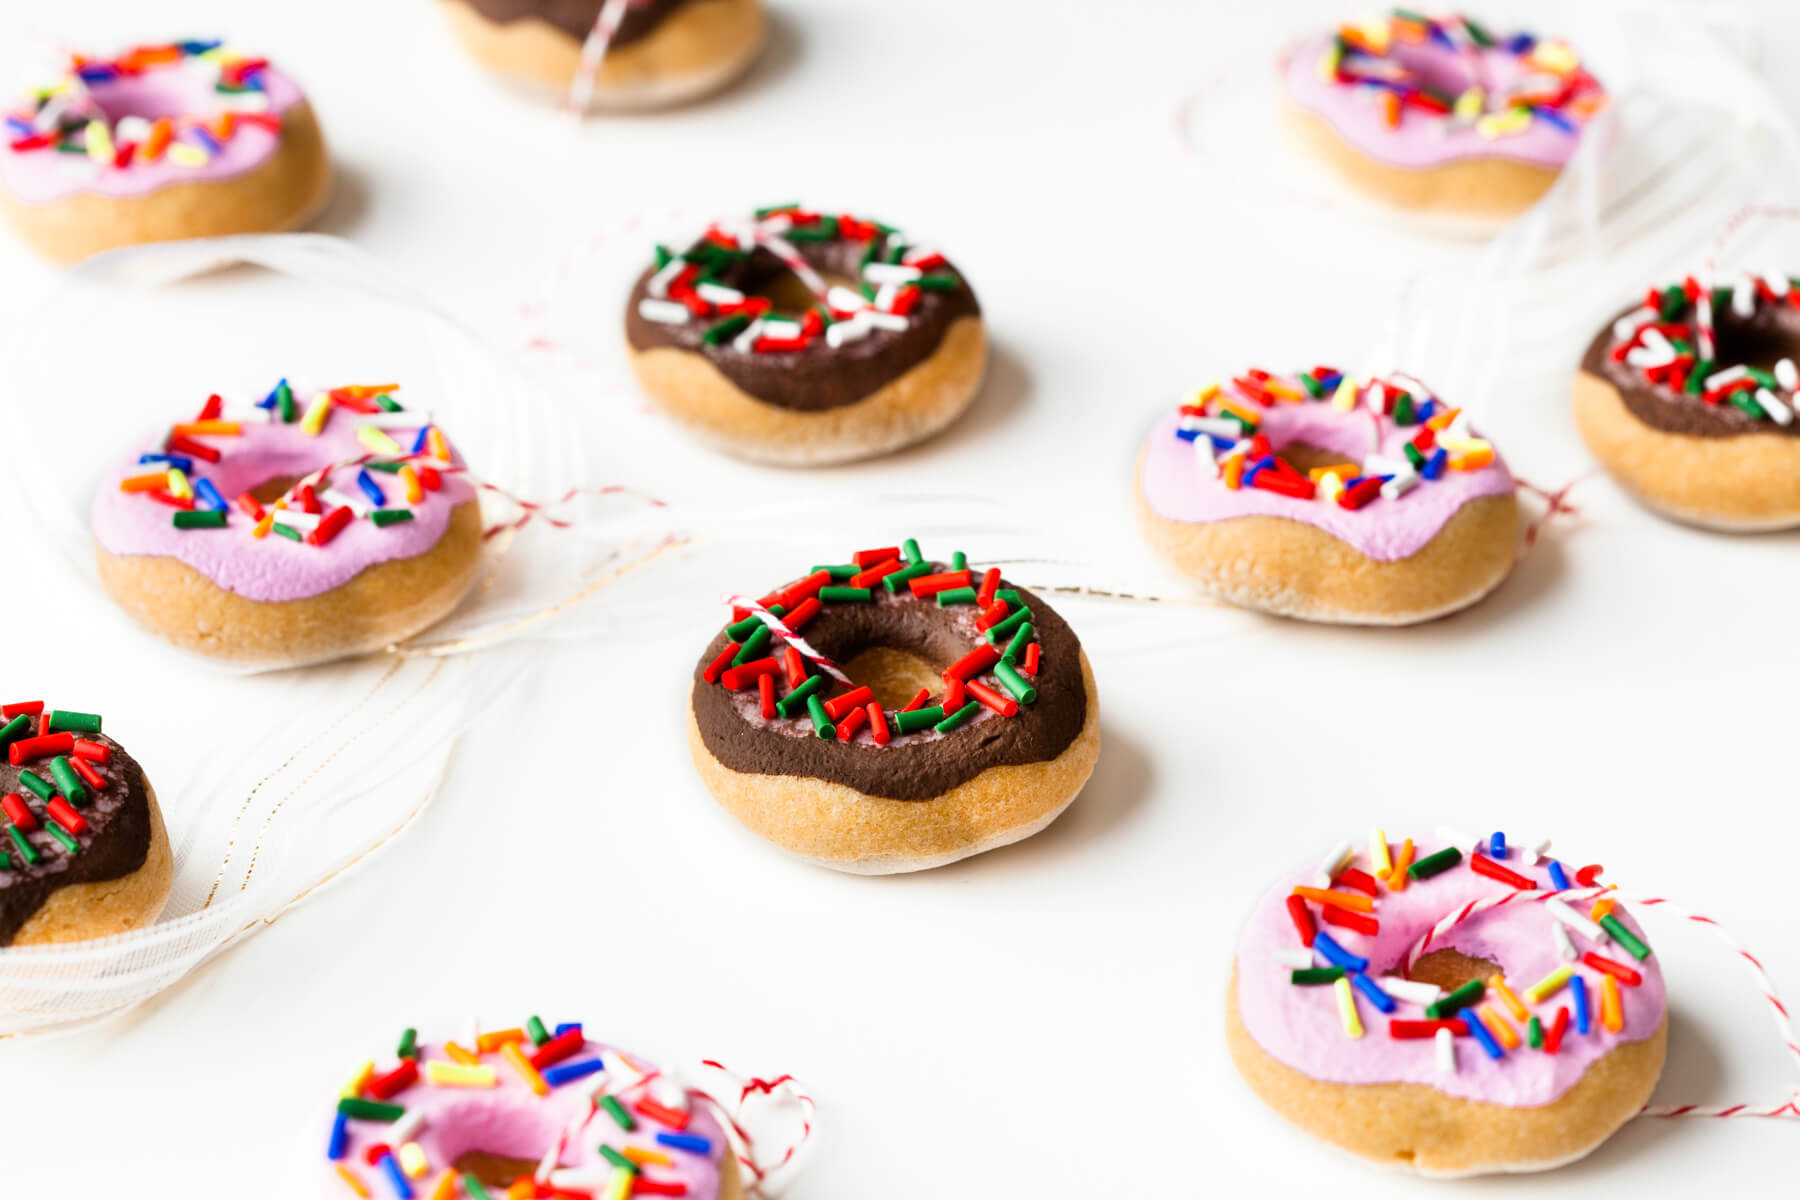
 Remember working with salt dough as a kid? The last time I can recall crafting anything with salt dough, it was big, twisty pretzels at a summer camp. So when I decided to try my hand at salt dough ornaments this year, it seemed fitting to make another baked good! Donuts were the obvious choice, because frosting! Sprinkles! Oh, and a built-in hole that makes them easy to hang.
These took a full day to make (mostly because they need to bake a few times), but every step is really easy. I could even see this being a fun winter break project with older kids. I chose a mini donut pan instead of a full-sized one to keep the ornaments from being too heavy, and their petite size is perfect for adding to a wreath or topping packages in place of a bow. And hanging on a tree, of course!
 Supplies:
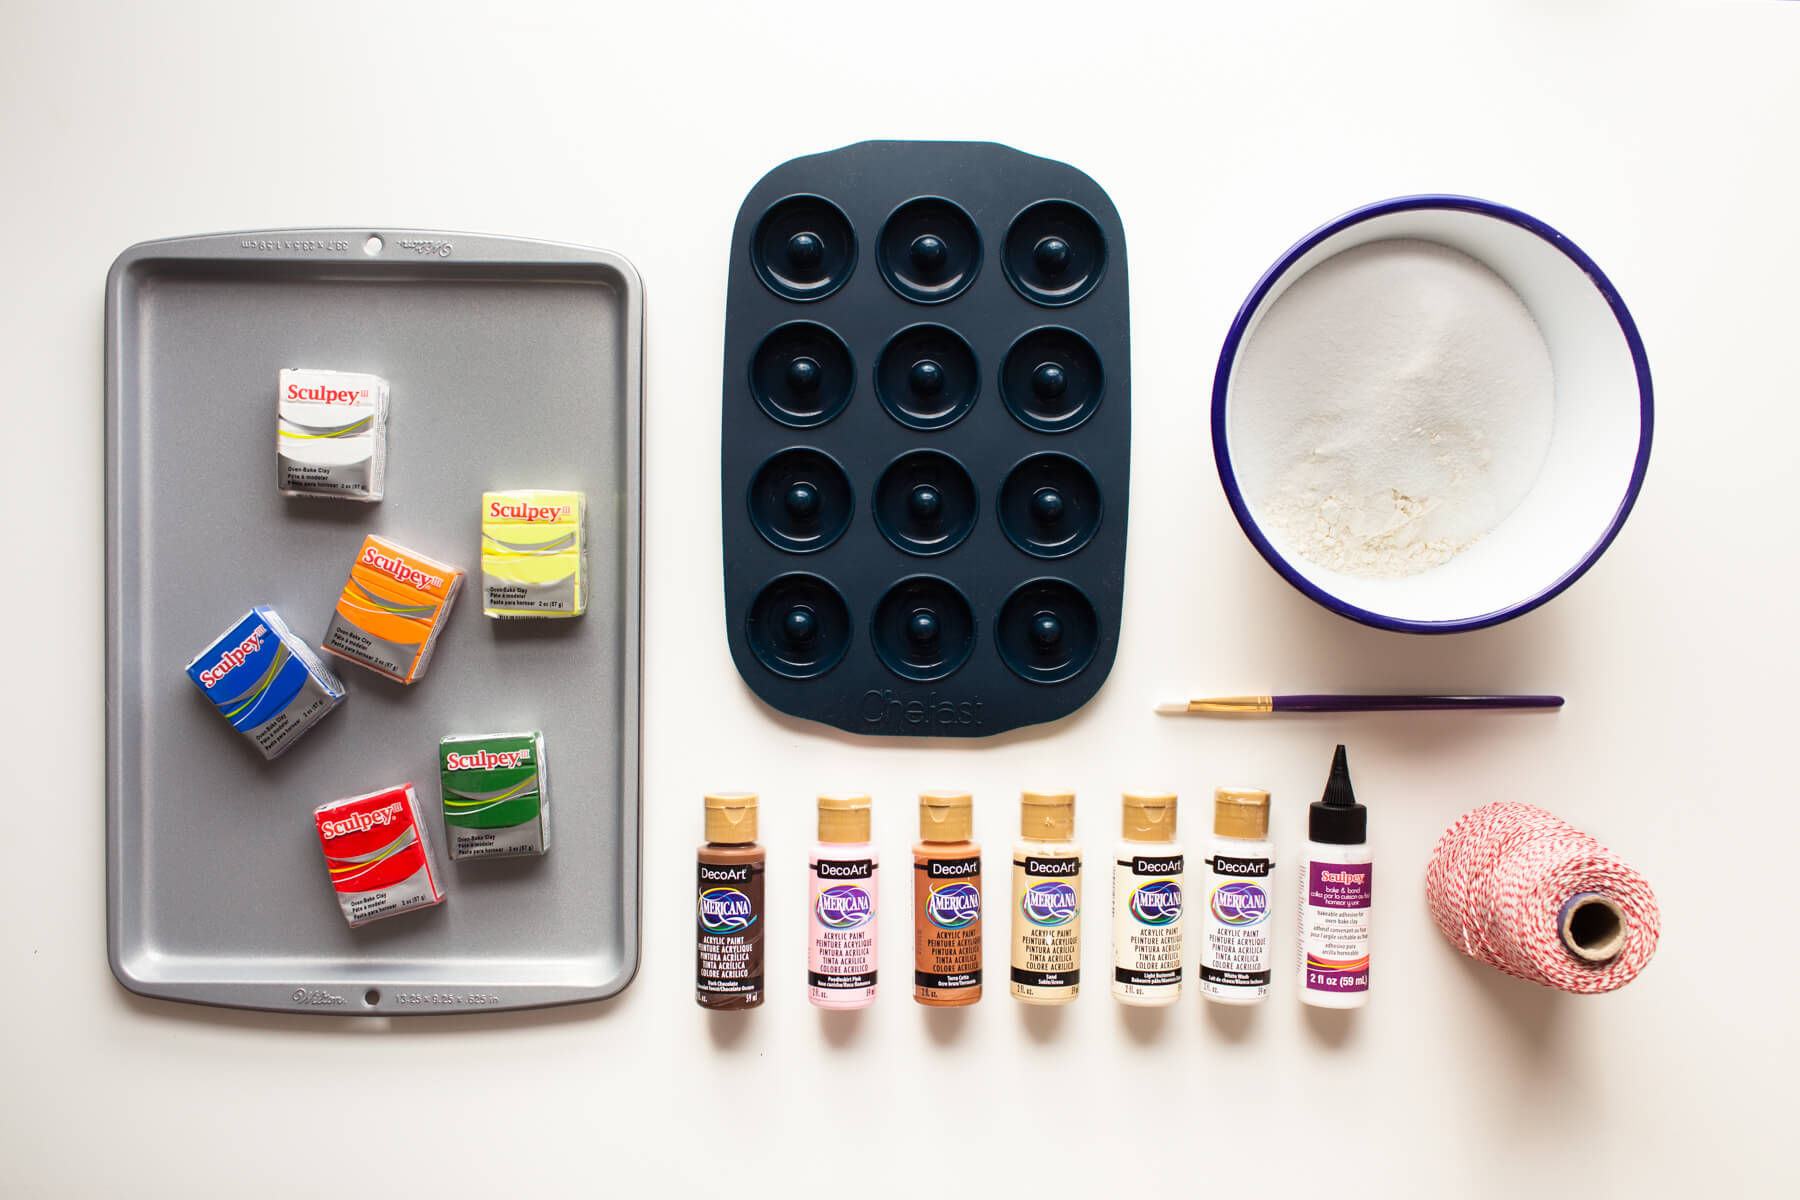
-a mini donut pan (I recommend silicone—it makes removing the donuts easy)
-a baking sheet used just for crafts (it will no longer be food safe)
–polymer clay in a mix of sprinkle colors
–acrylic paint in frosting colors and dough colors (optional)
–bakeable adhesive
-a paintbrush
-flour, salt and water
–string for hanging the ornaments
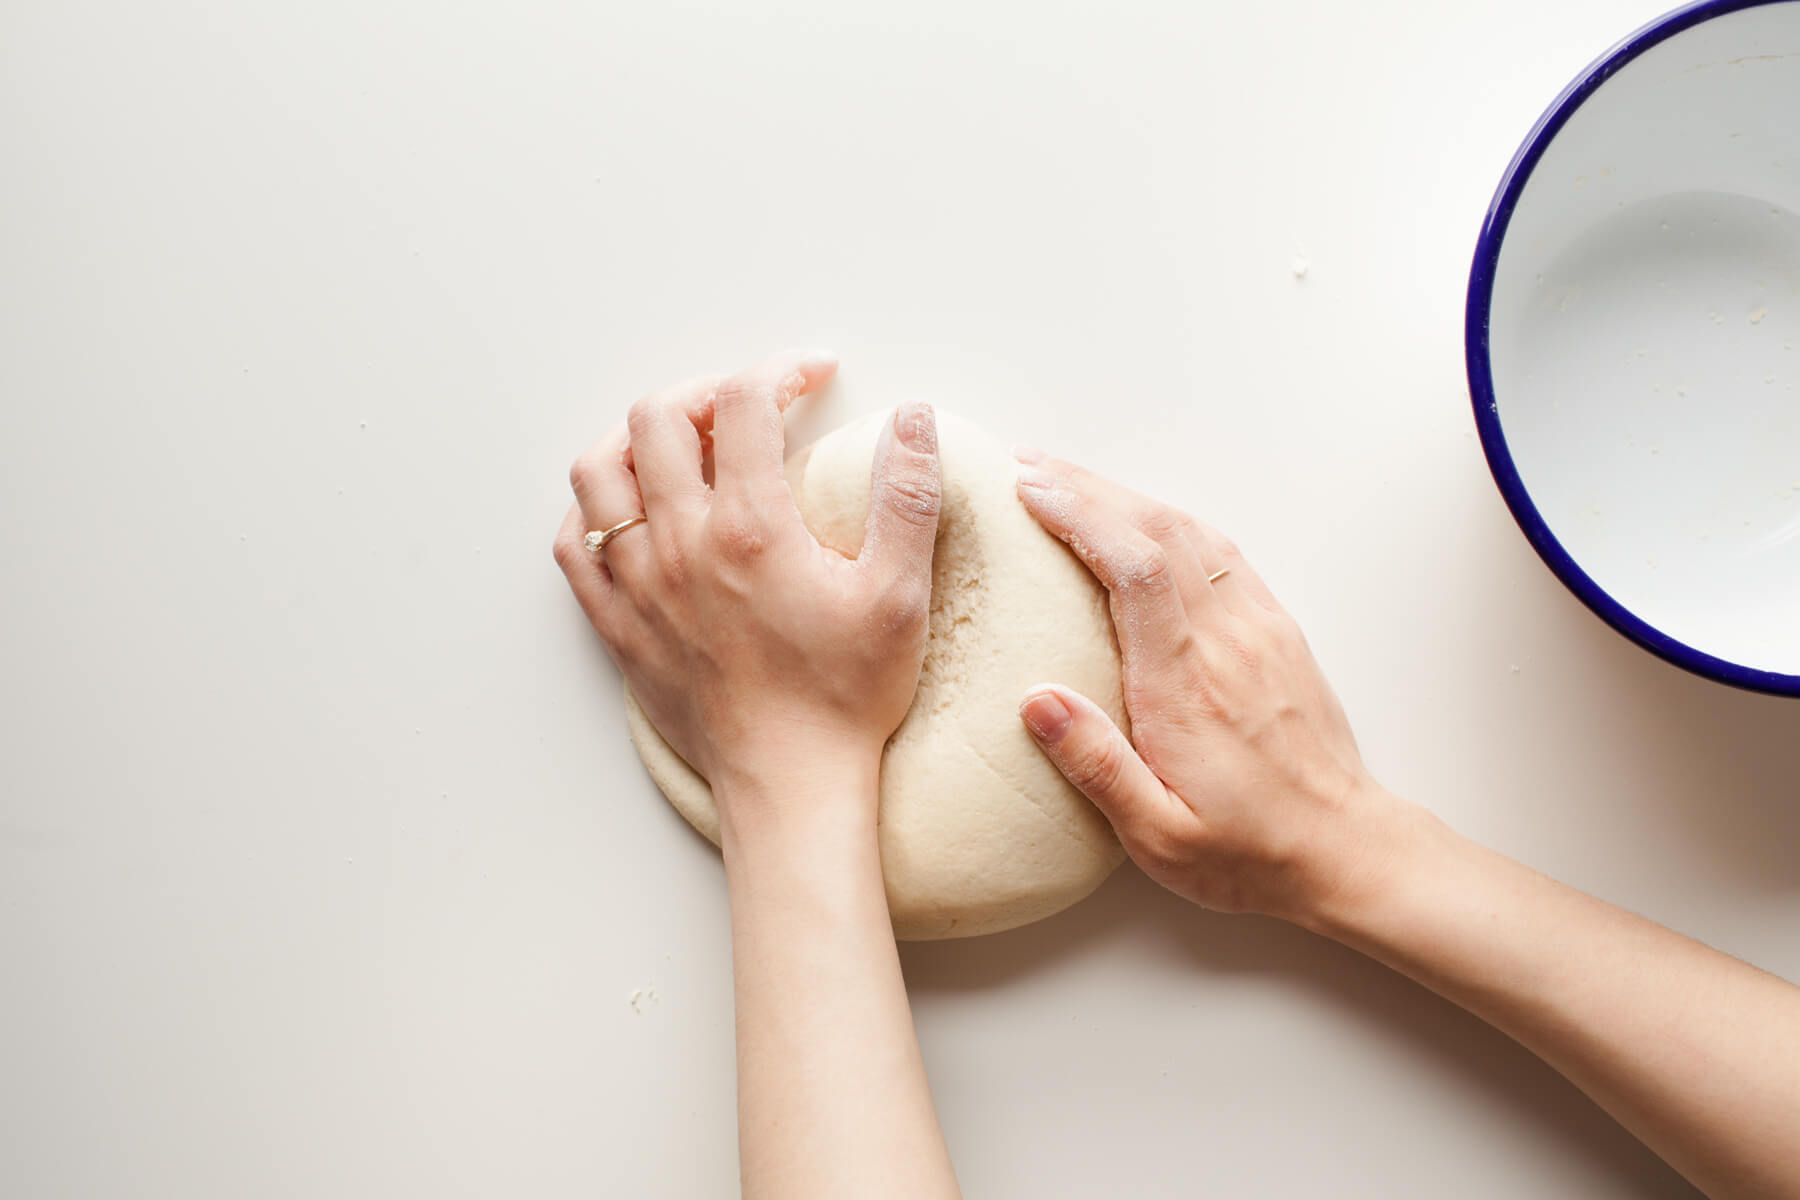 Stir 1 cup flour and 1/3 cup salt together in a bowl. Add 1/3 cup water, stir, and add up to another 1/4 cup of water until a dough comes together. Turn onto a work surface and knead until smooth and soft.
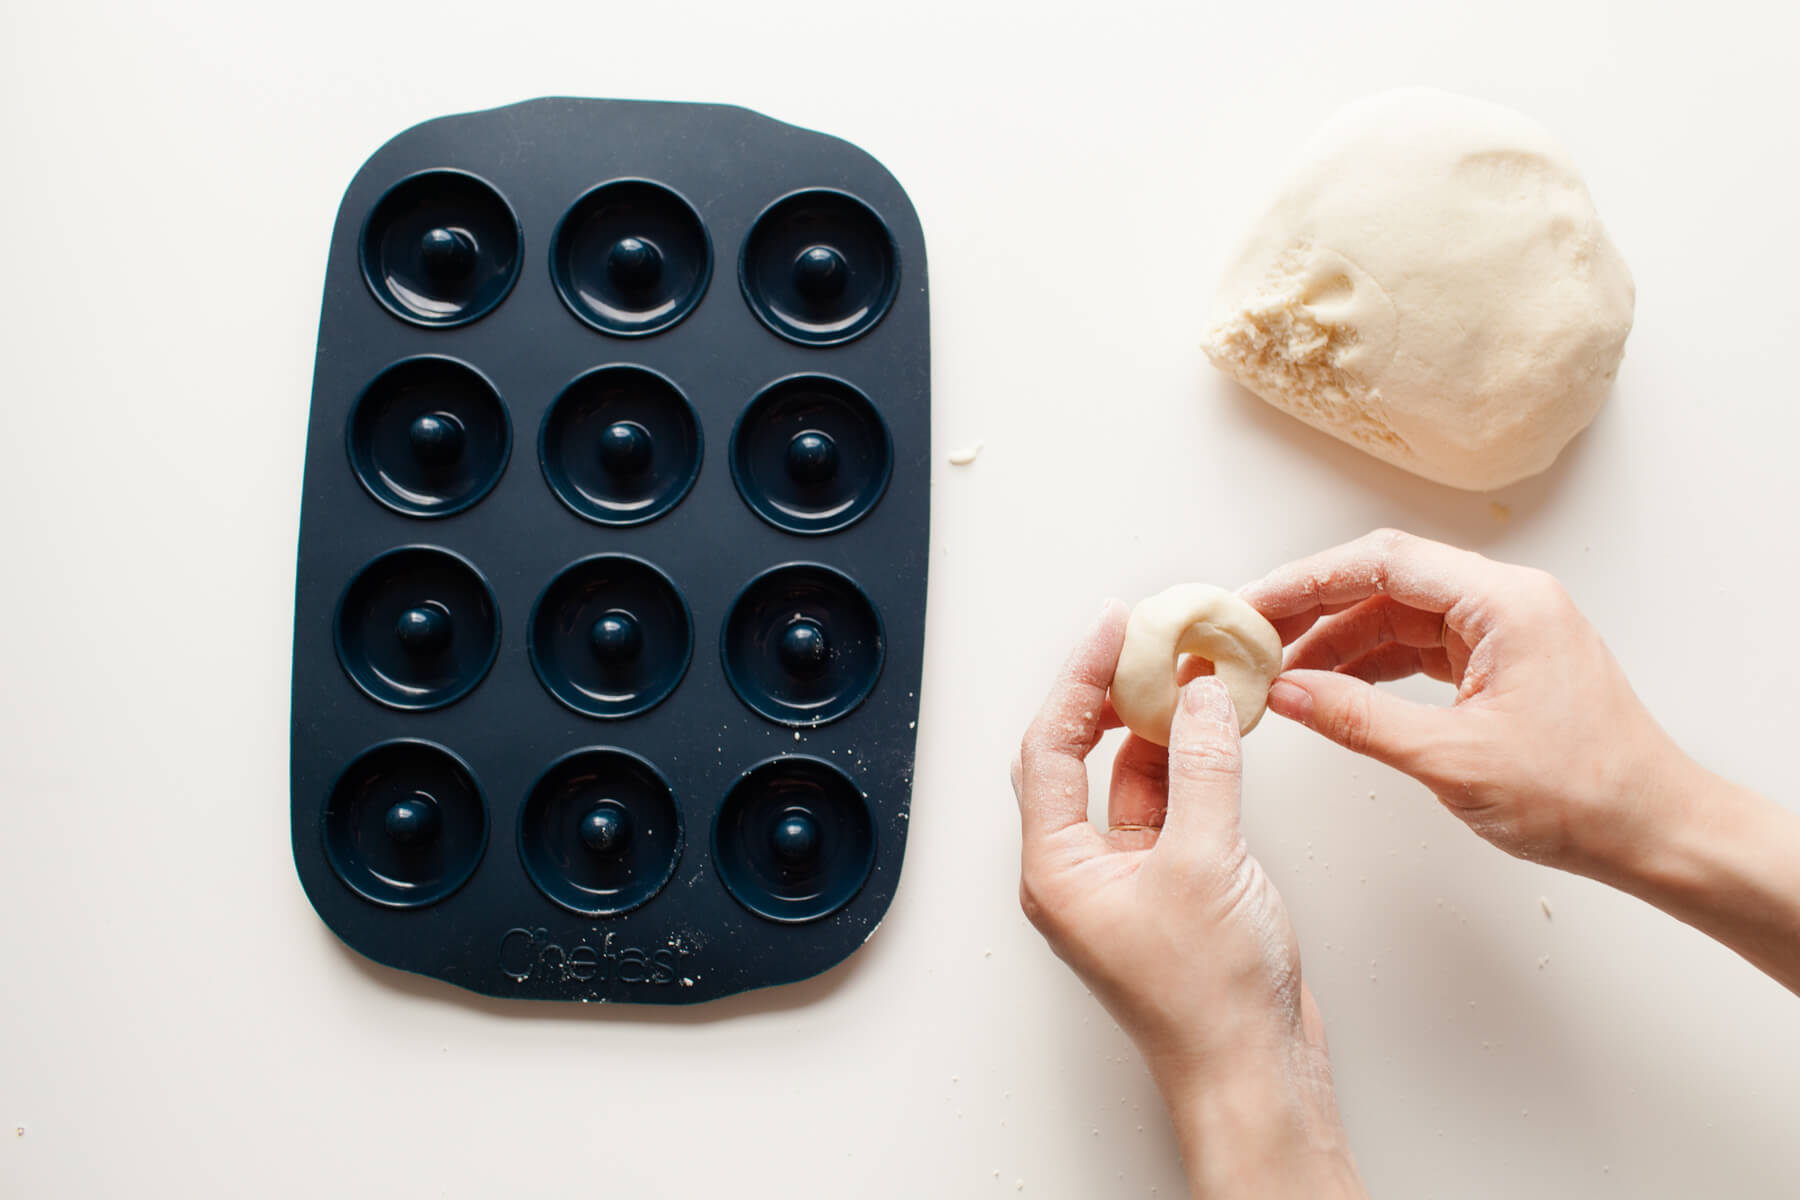 Pinch off a small piece of dough and roll it into a ball between your palms. Use a finger to create a hole in the center and gently pinch it into a donut shape. It doesn’t have to be perfect. As long as the side that goes into the pan is relatively smooth, the donut will come out nicely. Press into the pan. Bake the donuts at 250ºF for 3 hours. Allow to cool, then remove the donuts from the pan.
 Make the sprinkles by rolling out long, skinny pieces of polymer clay. This was easiest for me when I kneaded the clay until it was warm and pliable before rolling it, and when I rolled just in one direction. Bake according to the package instructions (this was only about 5 minutes for me). The clay will feel a little soft when done; it should be bendy but hard once it cools.
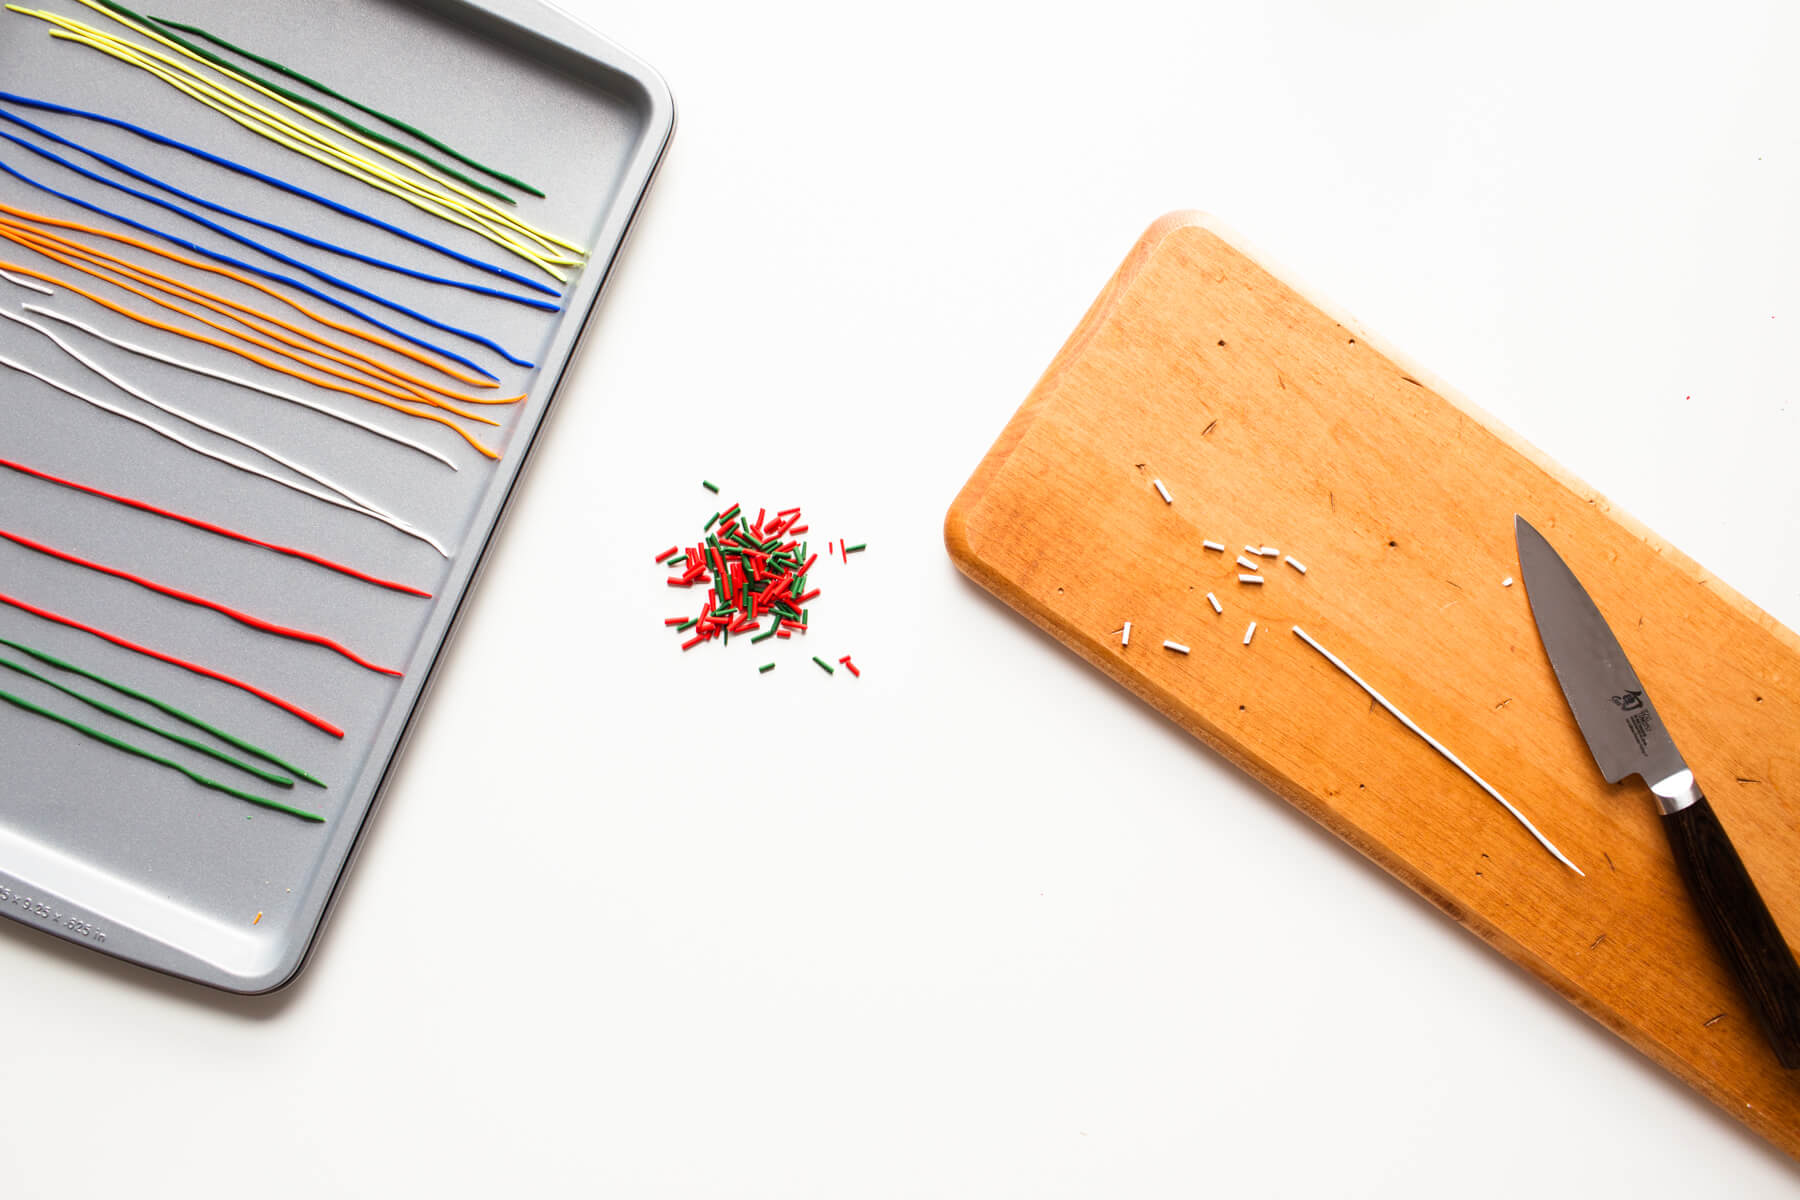 Use a sharp knife to cut the clay into sprinkles. Beware, they go flying everywhere!
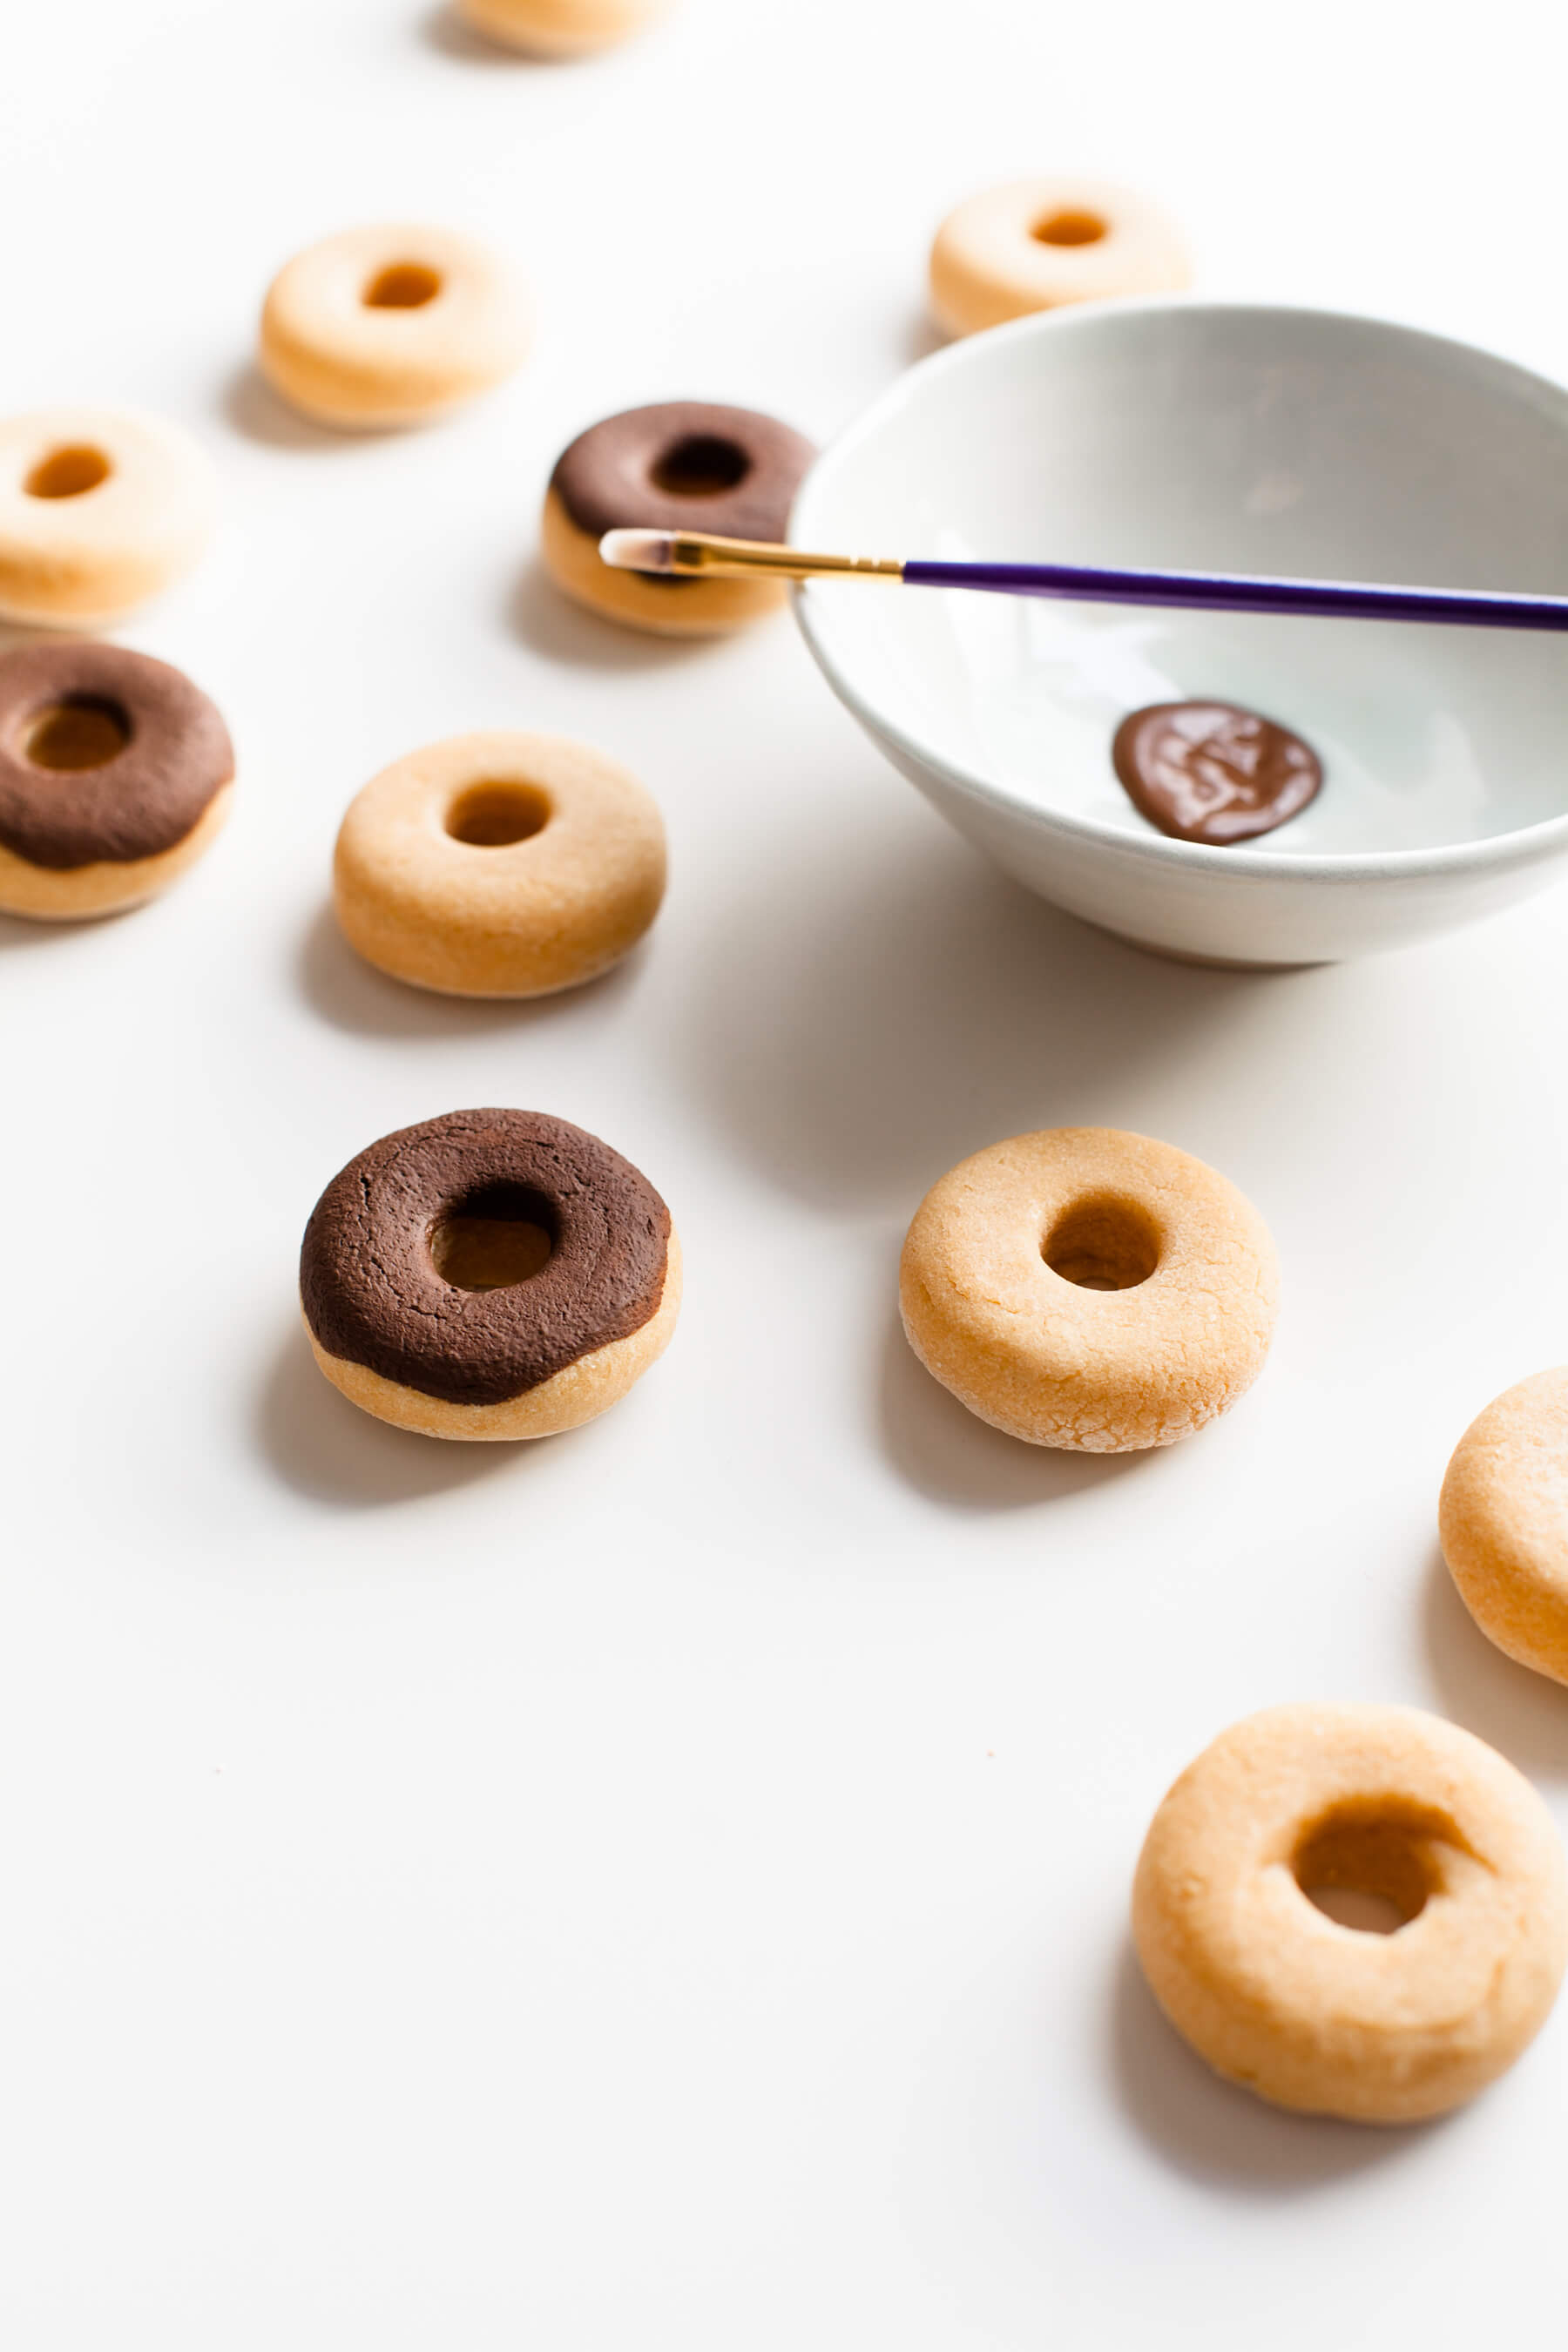 Now it’s time to decorate the donuts! I mixed a “dough” color with a few paints before deciding I preferred the look of the plain donuts. If your donuts come out pale, you might want to give them a dough colored base coat. Then paint on the frosting, which took about three coats before it looked neat and opaque. Allow to dry completely before moving on.
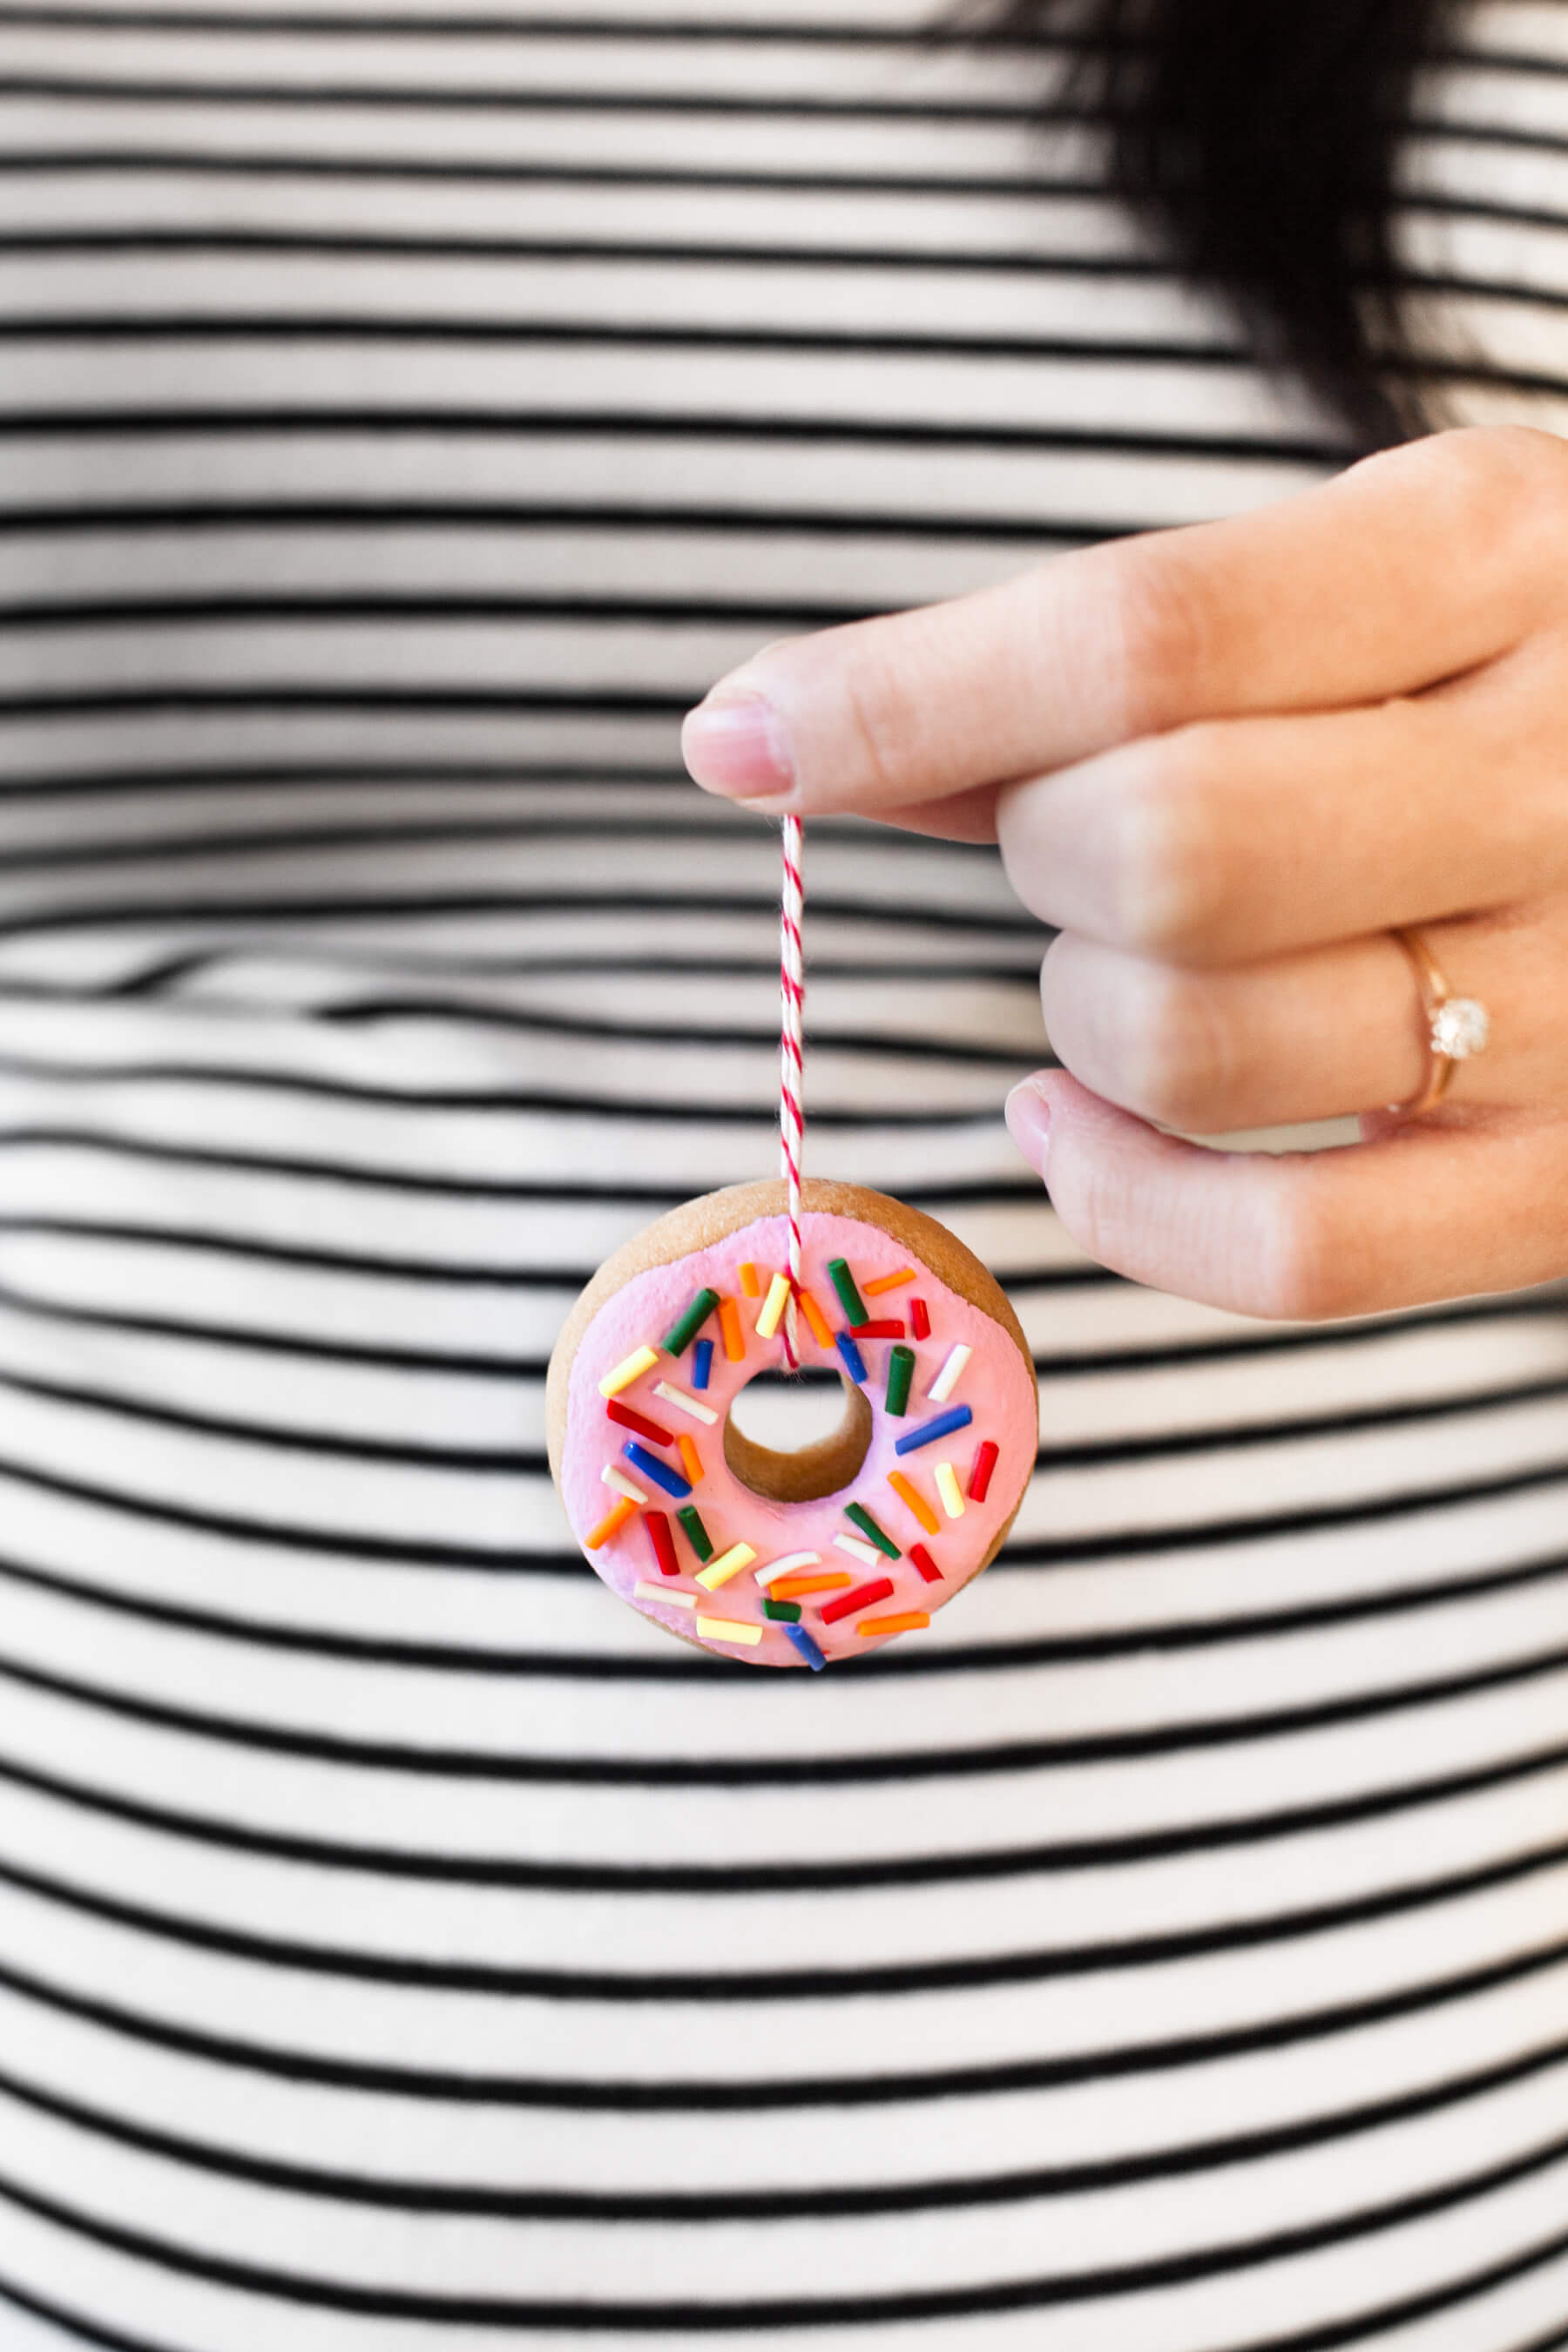
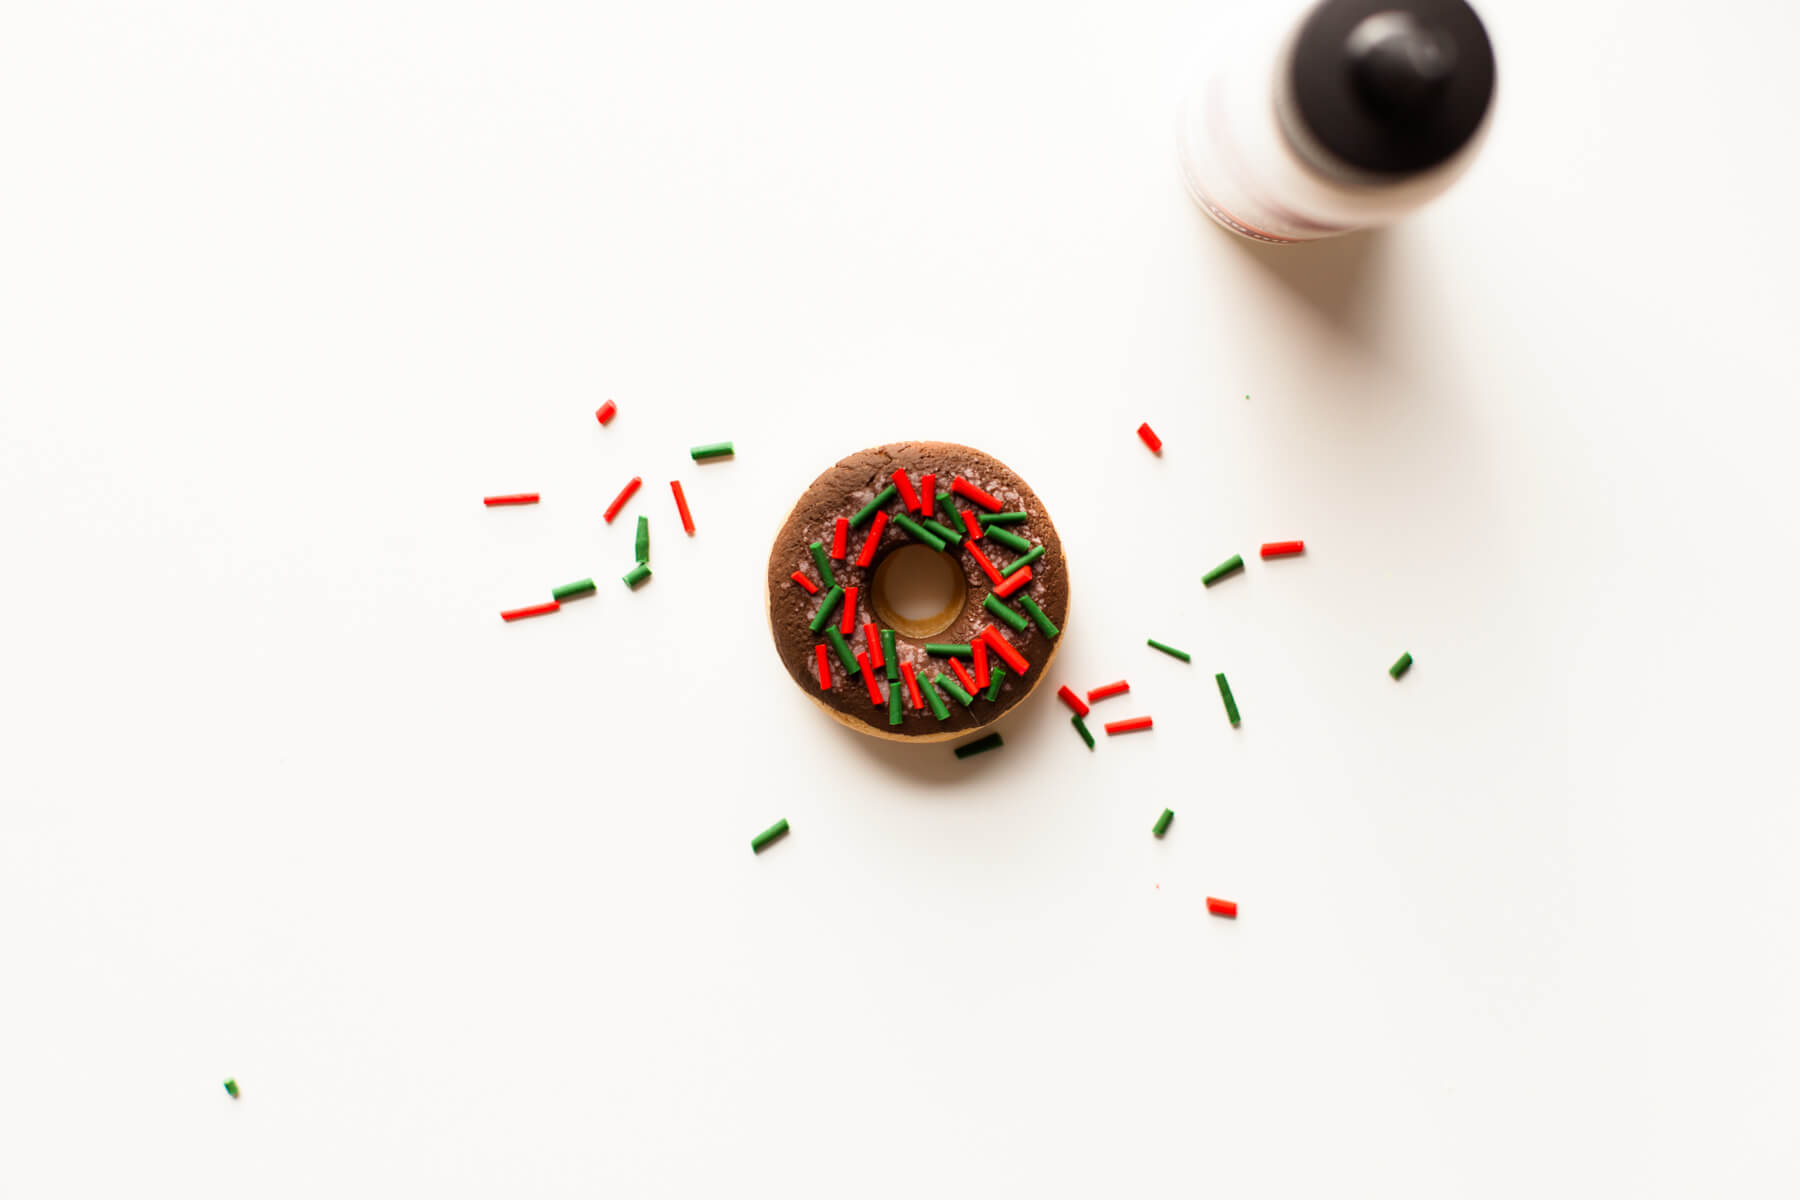 Paint on some of the bakeable adhesive and press the sprinkles into the adhesive. It looks a bit gluey but turns almost clear after baking. Bake according to the adhesive directions. If any visible adhesive remains, you can use a fine paintbrush to touch up the frosting. Add the string and they’re ready to hang!
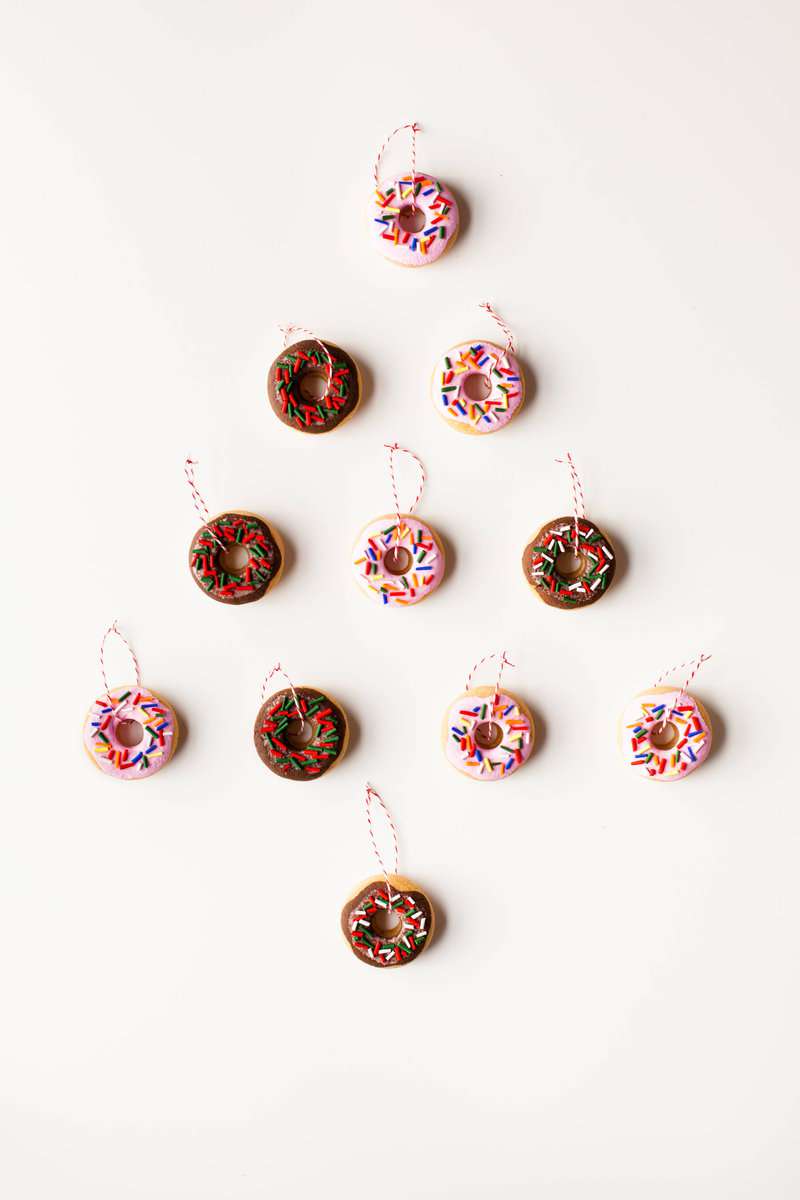
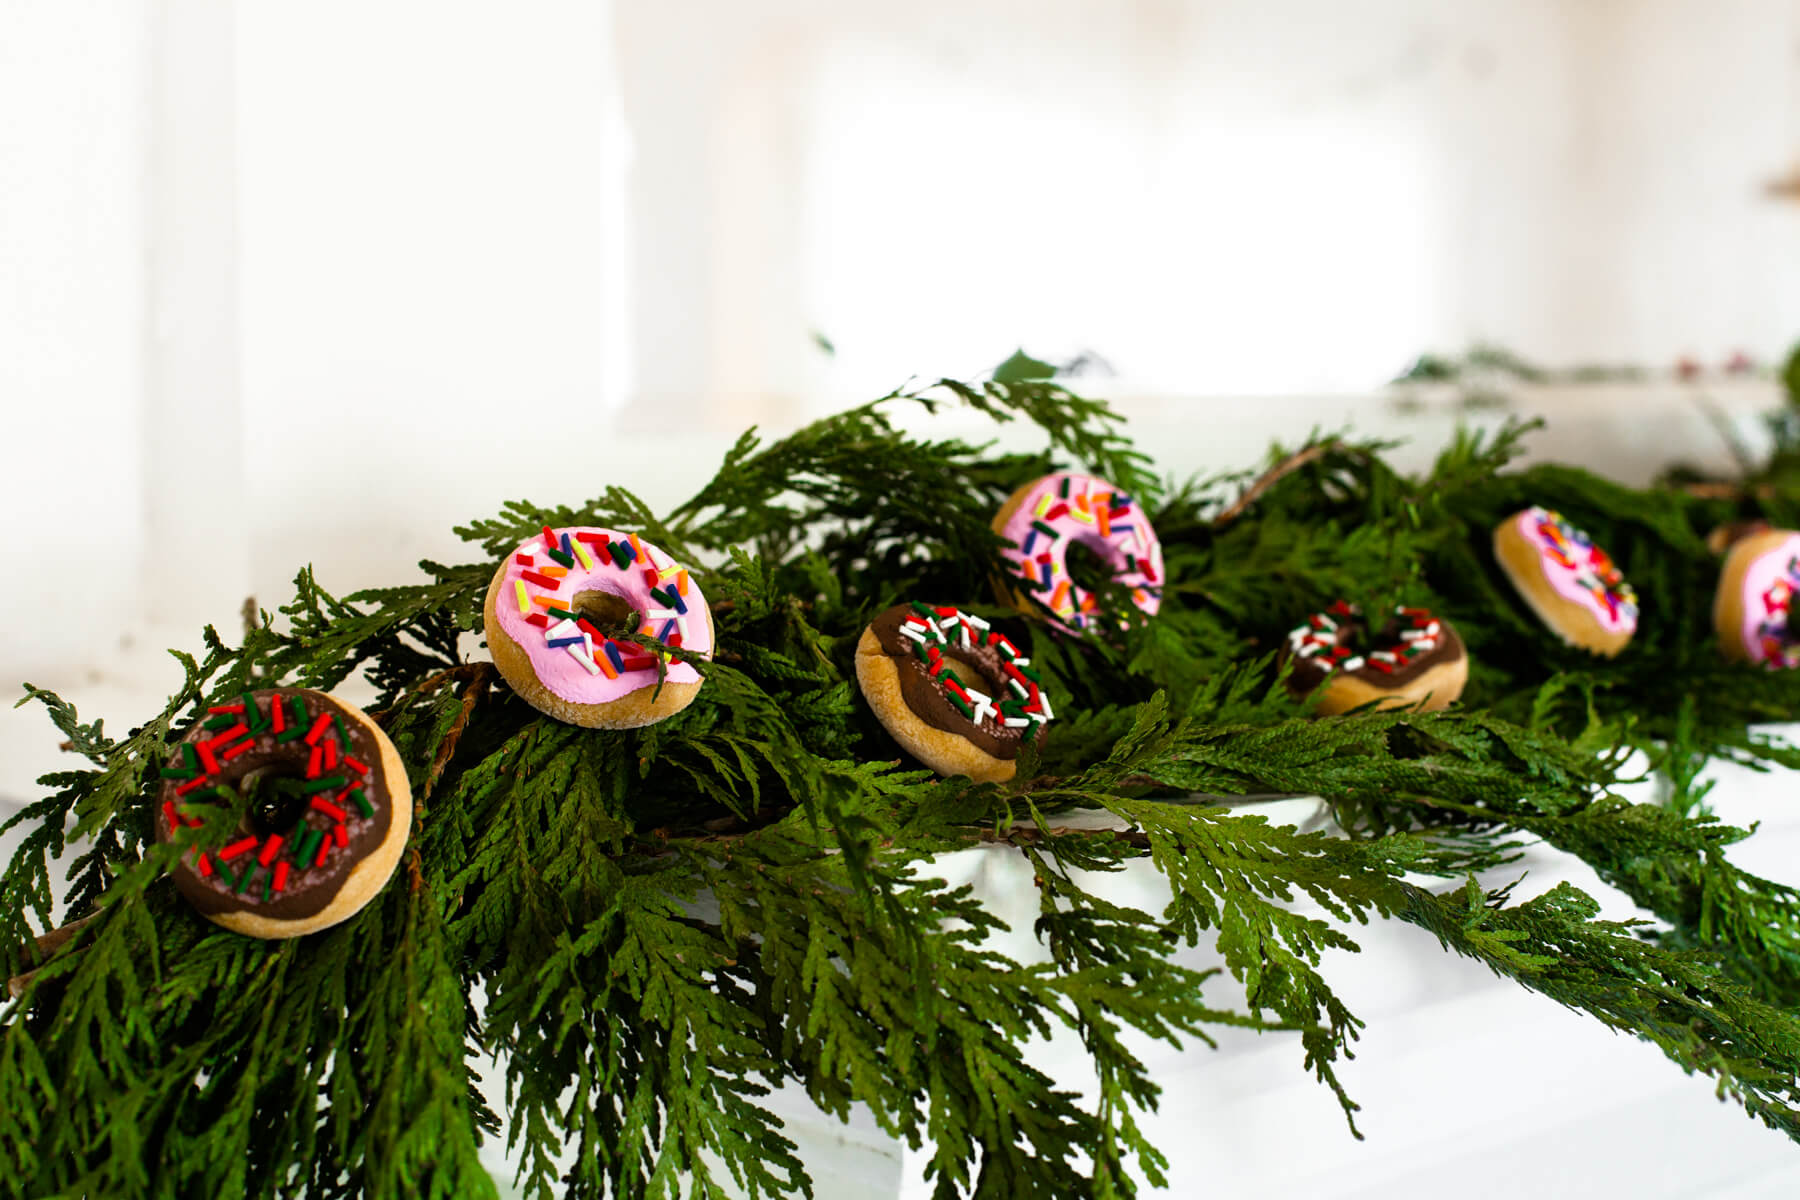 Don’t they look good enough to eat!? We didn’t get a tree this year so I arranged my dozen donuts on a garland on the mantel and I love the pop of whimsy and color they add to the room. I’m planning to bake a second batch to tie to Christmas gifts, because who doesn’t like getting two presents in one? Only next time I’ll make sure I have some actual donuts to snack on while I work, because it’s a little torturous making these and not getting to eat the real thing! xo Kayleigh
Credits//Author and Photography: Kayleigh Kosmas. Photos edited with A Color Story Desktop.
 />
/>